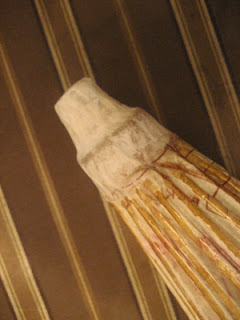
Look what I found on a recent treasure hunt - An amazing Double Decker Asian Parasol! Unfortunately, it was damaged:
Well, heck, how hard could it be to fix that? So, this weekend, being laptop deprived and therefore with some extra time on my hands, off I went into repair land... First step, clean up the damaged parts. Fortunately the two bad spots were an even number of spaces apart, so I just cut every-other triangle out with a craft knife. UNfortunately, I didn't realize there was a string under the paper right where I was cutting, so... oops!
That's ok. I just used some strong string and a good-sized needle to carefully thread through the holes and tied it off to the uncut parts. Presto and onward-ho!
Next I needed to pick out some kind of paper to use. It was, of course, originally made with rice paper, which I had none of (and, also 'of course' had not the patience to order some and wait for it to come in the mail ;)
But what I did have was some vintage vellum that I picked up at the
Brooks Steam Fair this summer with brown-printed blueprints on it - they were selling them 3 for $1.00!
Perfect. But a little too clean, and a bit bare around the edges. So first I
traced another blueprint onto it with a brown ball point pen, then
washed the whole thing with Isopropal Alcohol to blur it a bit. After I ironed that out (yes, with an actual iron), I measured the umbrella, traced and cut out the right-sized circle.
Then I traced the little circle in the middle and cross cut that so that it would fit over the top nicely.
I used 'mod podge' (1/2 elmers glue, 1/2 water) to glue it to the spines and the panels that weren't cut out. Here it is fitted and drying:
Then I very carefully turned the 1/4" hangover and glued it over the edge string in sections.
On the bottom part of the umbrella the spines are coated with amber shellac, so I did the same to the top section, then covered the top part by podging white tissue paper on, then painting that with amber as well.
Lastly, because once I accidentally inverted the whole thing, I glued a screw into a conveniently-placed hole on the main pole so that it would act as a stop to prevent that from happening again.
And Voila! Works great, looks great - ready to pop into the shop for some lucky customer :O)


No comments:
Post a Comment